A couple of months ago, I created a makeshift darkroom out of a spare bathroom, and part of the spare bedroom. I did this with blackout curtains, thumb tacks, and gaffers’ tape. Soon after, I loaded some film, and made an 8×10 contact print. Things were looking up.
Until the walls came down. Gravity, you know.
One of the issues was that the blackout curtain was not long enough to reach from the ceiling to floor, so I had to tape pieces together to make it light tight. This tape failed after a couple weeks. It was hard to put enough pressure on it to get a proper seal without pulling the curtain down. Needless to say, this was a fatal flaw. Luckily, it didn’t happen when I had film or paper out of the box. Yes, I could have sewn them together, but I was in a hurry. I wanted to develop some film. I had an itch.
I had to start over, so off to the hardware store I went.
The walls have to be temporary, because I don’t know if I will be keeping this house once I retire. This will be the trick: to build light tight temporary walls that look good, and keep out the light.

It would have been nice if Lowes would have sent straight boards. I don’t have a truck, so I have to get lumber delivered.
The darkroom is a little bigger than is seems by the above picture because there’s a bathroom on the right side. I really do miss my old Portland darkroom. I’ll probably miss it more when I start tripping over things in this one.


It’s light tight enough to do some printing. Next is to stop up the remaining light leaks, and make it look nicer. That corner needs some work.
More to come. Stay tuned.
Technical Data
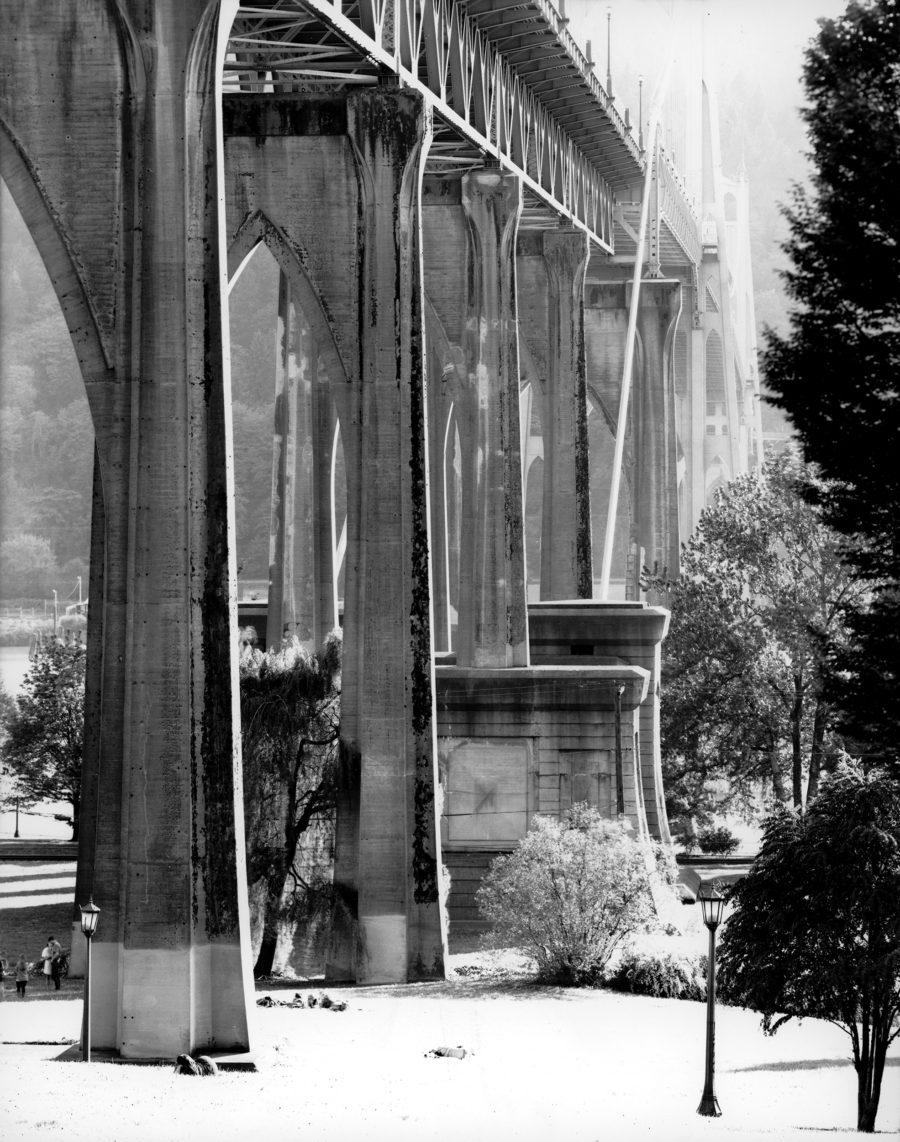
Featured Image: St. Johns Bridge, Spring 2012
Camera: Kodak Commercial Studio 8×10.
Lens: 760mm SK Grimes.
Film: Ilford Ortho + developed in Kodak HC-110.
Printed on Ilford MGIV developed in Ilford Bromophen.


