An Unexpected Return to a Sometimes Problematic Developer
In my previous post about film and developer testing, I said that I would not be using PMK Pyro anymore. For those unfamiliar with them, Pyro developers are some of the oldest formulas that photographers still use. They are what’s known as “Staining”, or “Tanning” developers because they leave a proportional stain on the negative. This stain can be yellow, brown, or green. It serves to hide film grain, making the images appear sharper. Tanning developers harden the emulsion while they work. This makes Pyro a compensating developer, meaning that it retards the highlights while bringing out detail in the shadow areas because the tanning is proportional. The areas of more density – the highlights – become hardened, and resist further development while the areas of lower density – the shadows – harden much slower.

©2023 Gary L. Quay
This was an extremely contrasty scene with strong, backlit sunlight and deep shadows cast by the trees. A normal developer would have rendered the trees mostly black.
The trees at the Barlow Wayside Park remind me of tentacles. And, yes, the trees really do lean that way. The camera was not off kilter.
Camera: Fuji GSW690III
Lens: 65mm Fujinon
Film: Rollei Retro 80S developed in PMK Pyro
Why I tried PMK again:
After developing a roll of medium format Ilford HP5+ in Rodinal, and seeing the way it accentuated the grain structure, I decided that a different approach was necessary, at least for medium format. Rodinal is one of the developers I was on the verge choosing for the long run. For 4×5, 5×7, and 8×10, it works just fine, but smaller formats suffer from the punchy grain structure that it creates.
Rodinal is a two-edged sword. It enhances sharpness due to its “edge effects”, which are simply he way it sharpens the boundaries between different aspects of a negative. The tradeoff is a grain structure that can appear garish.

©2023 Gary L. Quay
If you look at the sky in this picture, you can see what I am talking about. The grain is fairly extreme, and not at all what a picture like this requires.
This was taken during the maiden voyage of my new (used) Fujifilm GSW690III camera. I traveled to Sisters, Oregon with family, and stopped at this Crooked River overlook along the way. I had not been there since the mid 1990’s. It was still just as spectacular, and the rusty, old car was still at the bottom of the ravine. A good time was had by all.
Camera: Fujifilm GSW690III
Lens: 65mm Fujinon
Film: Ilford HP5+ developed in Rodinal.
After seeing the above picture, I remembered the staining effects of Pyro. I pulled out my Book of Pyro by Gorden Hutchins, and decided to give t another try. This time, I would follow the instructions to a T.
The first thing I noticed was that I had not followed the suggested vigorous agitation methods. To test those methods, I mixed up a batch of the developer, and souped a roll of Rollei RPX 25. I used an acid stop bath after developing, like the book said, but the pyro stain was not as present as I had hoped, so I developed a roll of Ilford HP5+, which was the film I used in the Crooked River image, and used a fresh water stop instead of an acid stop.

©2023 Gary L. Quay
Compare the grain structure in the above picture to the Crooked River image. The grain is much less pronounced. The image is plenty sharp, evenly developed, and not splotchy like some of the ones I have developed in PMK Pyro in the past. There was plenty of pyro stain.
I enjoy taking pictures on the hillside between Rownea Crest, and the small town of Rowena, Oregon. You can see the effects of the rain shadow in the sparseness of the forest, and in the spindly oaks. I had the Twirly Camera out there in June, and used up a couple rolls of film.
Camera: Noblex 06/150
Lens: 50mm Tessar
Film: Ilford HP5+ developed in PMK Pyro
The Pyro Negative

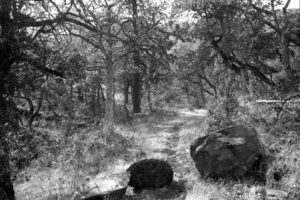
PMK Pryo leaves a yellowish stain on the negative. Some films show the stain more than others. This film is Ilford Ortho Plus, which is one of my go to films for forest scenes.
Here’s the picture.

©2023 Gary L. Quay
The tones of the image are pleasing (to me), and I suspect that it will print easily in the darkroom.
This is a favorite spot of mine. It’s wonderfully cluttered, but has that path and rocks to provide a focal point.
Camera: Sinar Alpina 4×5
Lens: 8.5″ Cooke Anastigmat
Film: Ilford Ortho Plus developed in PMK Pyro.

©2023 Gary L. Quay
This was also “souped” in PMK Pyro, but the stain was much less evident on the negative. Some films are better at developing pyro stain than others. The picture turned out quite nice, though, and was an easy edit after scanning.
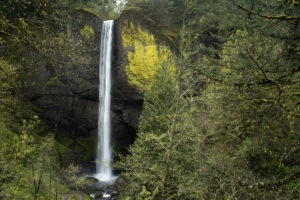
I hiked up to Dry Creek falls on the Pacific Crest Trail for the first time, and had the Flexbody with. I had the falls to myself for about 10 minutes, and used it to my advantage.
Camera: Hasselblad Flexbody
Lens: 50mm Zeiss Distagon
Film: Ilford Pan F 50 developed in PMK Pyro.
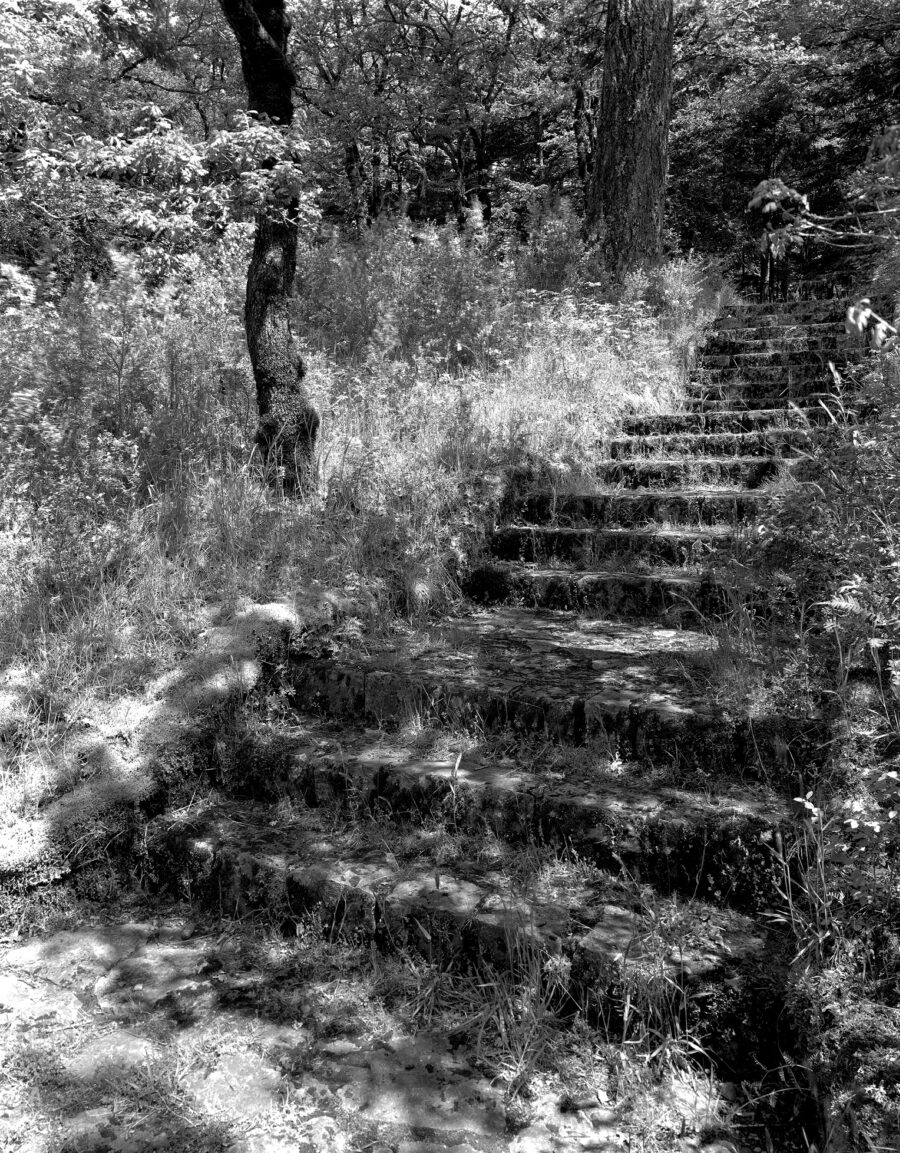
About the Featured Image
The Featured Image is “WPA Stairs, Bonneville, Oregon # 2”. It’s an example of an image from when I previously messed around with PMK Pyro.
©2011 Gary L. Quay
This is right next to the Columbia River near the Bonneville Dam. My guess is that these steps were built by the WPA during the Great Depression. It was an almost idyllic spring afternoon. Gaia and I were traveling east toward Hood River, and we stopped here at the advice of a co-worker. I was drawn by the dappled light on these stairs.
Camera: Sinar Alpina 4×5.
Lens: 90mm Nikkor with a green filter.
Film: Ilford Ortho Plus (rated 40 ASA) developed in PMK Pyro.
My early tests have been successful. I do not know if I will use PMK on large format film on a regular basis, because it’s more difficult than with roll films. Rodinal may be a good choice for 4×5 and larger, but that remains to be seen.
Thanks for looking!
–Gary L. Quay


